How to Install Ubuntu 22.04 LTS on Your Laptop or PC

|
| How to Install Ubuntu 22.04 LTS on Your Laptop or PC |
Ubuntu is a fantastic option whether you're exploring Linux for the first time or need a dependable Windows substitute.
The GNOME desktop environment gives it a helpful desktop, with a great selection of open-source productivity tools (including LibreOffice). It also receives regular security upgrades. Installation is comparable to installing Windows on a computer, but being aware of your options is a good idea.
Here's how to set up Ubuntu on a computer.
5 Ways to Install Ubuntu
It's up to you how you install Ubuntu. You could install it on your PC (as explained in the tutorial's main section) or discover another method. It may be installed on a variety of hardware, like the majority of Linux distributions.
- Put Ubuntu on a Windows computer
- on your Chromebook and install
- You could even set it up on an iMac or MacBook.
- A virtual computer can have Ubuntu loaded on it.
- Amazingly, a Raspberry Pi can run Ubuntu!
You can install Ubuntu Server for hosting data, including games, websites, file servers, and desktop applications. Here are some ways that Ubuntu Server and Ubuntu Desktop diverge.
Several additional devices can run Ubuntu as well. We'll presume you want to install Ubuntu from scratch and use a typical Windows desktop or laptop.
Choose and download your preferred version of Ubuntu to get started.
There usually are two Ubuntu desktop operating systems available at any given moment.
- Long-term Support (LTS) version
- The latest version
The LTS version is the most recent and is released every three years. Ubuntu 20.04 is the LTS, but three non-LTS arrangements have since been made available.
Every year in April and October, Ubuntu is published, as indicated by the version number. Ubuntu 22.04 will be released in April 2022, and Ubuntu 22.10, will be released in October.
What distinguishes an LTS release from a more current one, then? Simple: the LTS version lacks the following features available in newer versions but is more reliable (thus, "long-term support").
The LTS edition of Ubuntu is advised if you're looking for a dependable daily driver. Choose the most recent non-LTS release if not.
It's time to make the installation media now that you've downloaded the ISO file. The installation should commence after this is inserted and the target laptop or PC is rebooted.
To set up Ubuntu on a PC You can use:
- USB flash drive
- SD card
Whatever method you decide, ensure the target machine has an open port.
Creating bootable installation discs from an ISO file may be possible with a built-in tool provided by your operating system. The best choice is to utilize Etcher if you need to know what it is or how to use it.
Download Etcher
This software, which works across multiple platforms, can easily write an ISO file—or any other disk image—to flash storage.
For information on how to use Etcher to write an ISO file to a suitable USB flash drive or SD card, see our in-depth tutorial how to use Etcher.
Using a USB or SD card to start your computer
Restart or turn on the target computer with the installation disc inserted. You should have the choice to boot from the USB or flash storage after it has detected it.
If not, you must alter the boot menu in your computer's UEFI/BIOS. In this case, you'll need to give the USB or card reader (which the BIOS frequently treats as the same thing) priority over the computer's hard drive or solid-state drive.
After making that modification, restart your computer. The ISO file you burned to the USB or SD card should now be used to boot the laptop this time.
Ubuntu Installation: A Look at the Options
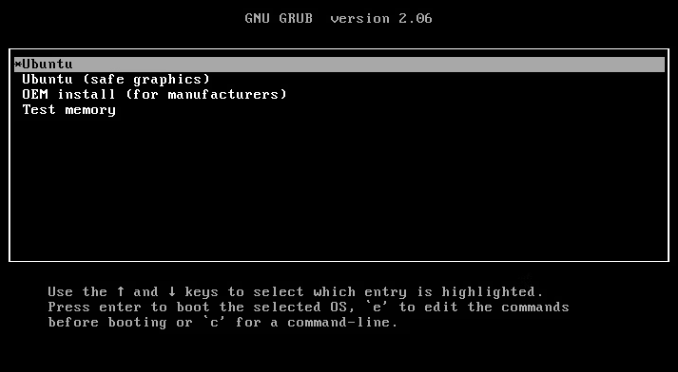
When the computer starts, you’ll see the GRUB screen with four options:
- Ubuntu
- Ubuntu (safe graphics)
- OEM install (for manufacturers)
- Test memory
In most cases, select Ubuntu, using the arrow keys, and tap Enter.
|
| GRUB screen |
Try Ubuntu (safe graphics) if your initial attempt to install Ubuntu fails and an error message related to the display or your computer's GPU (graphics card) is given as the reason. Use the Test memory option to see if your computer's RAM can handle the work. After that, you can choose Ubuntu and carry it with the installation.
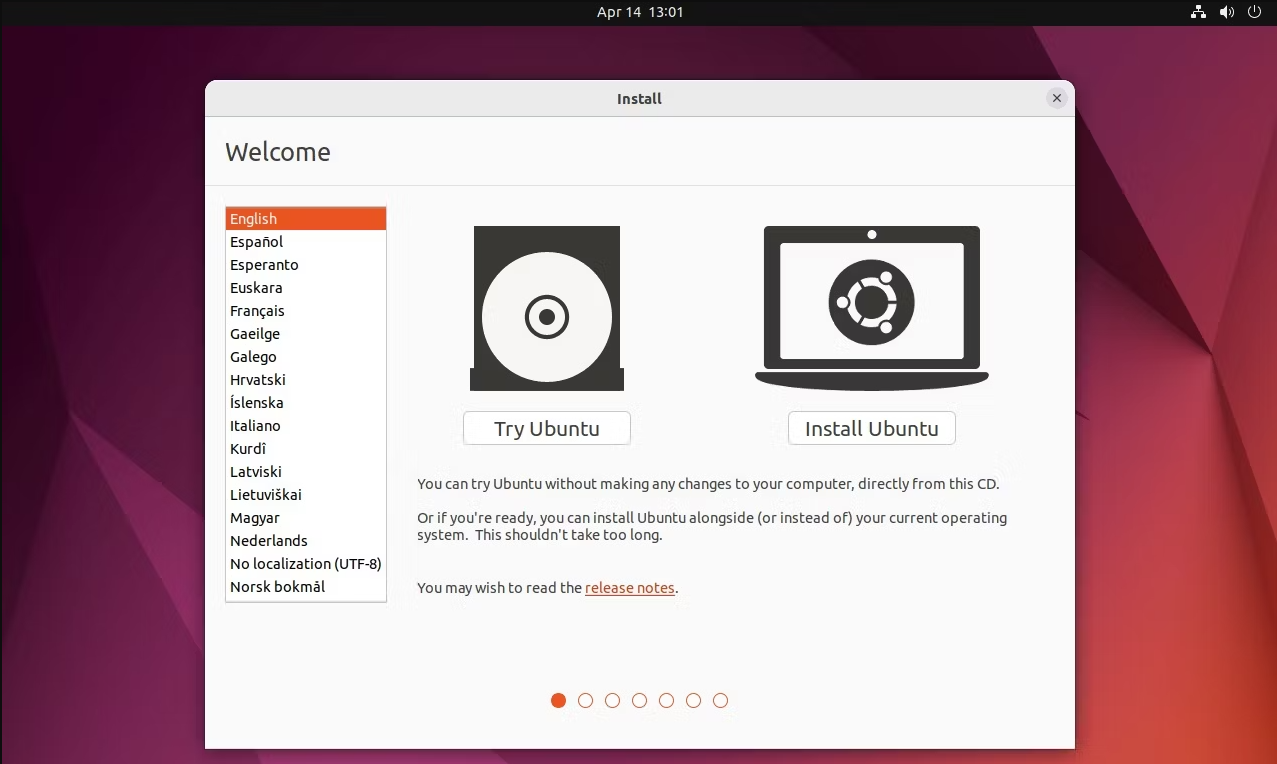
The installation environment will start up, and the Install screen will appear.
|
| Installer Screen Ubuntu |
Select your preferred language, then Install Ubuntu.
To test the live environment, try Ubuntu.
If you choose Try Ubuntu, the Ubuntu desktop will soon appear.
However, this is a "live" environment rather than a desktop. Ubuntu is now being used from the system RAM rather than installed on your HDD or SSD. You currently have the chance to explore around and familiarize yourself with specific settings and options.
You may change the desktop backdrop or open a browser to surf the internet.
This is a great chance to learn more about Ubuntu if you've never used it before installing it.
Locate the Install Ubuntu option on the desktop and double-click if everything appears to function correctly in the live environment.
Ubuntu Installation in 7 Steps
The Ubuntu 22.04 LTS installer streamlines the OS installation process. It can be finished in seven steps.
1. Keyboard Setup
Select a keyboard layout. Usually, this should match the actual keyboard you have.

|
| Keyboarad Layout Ubuntu |
Click Continue.
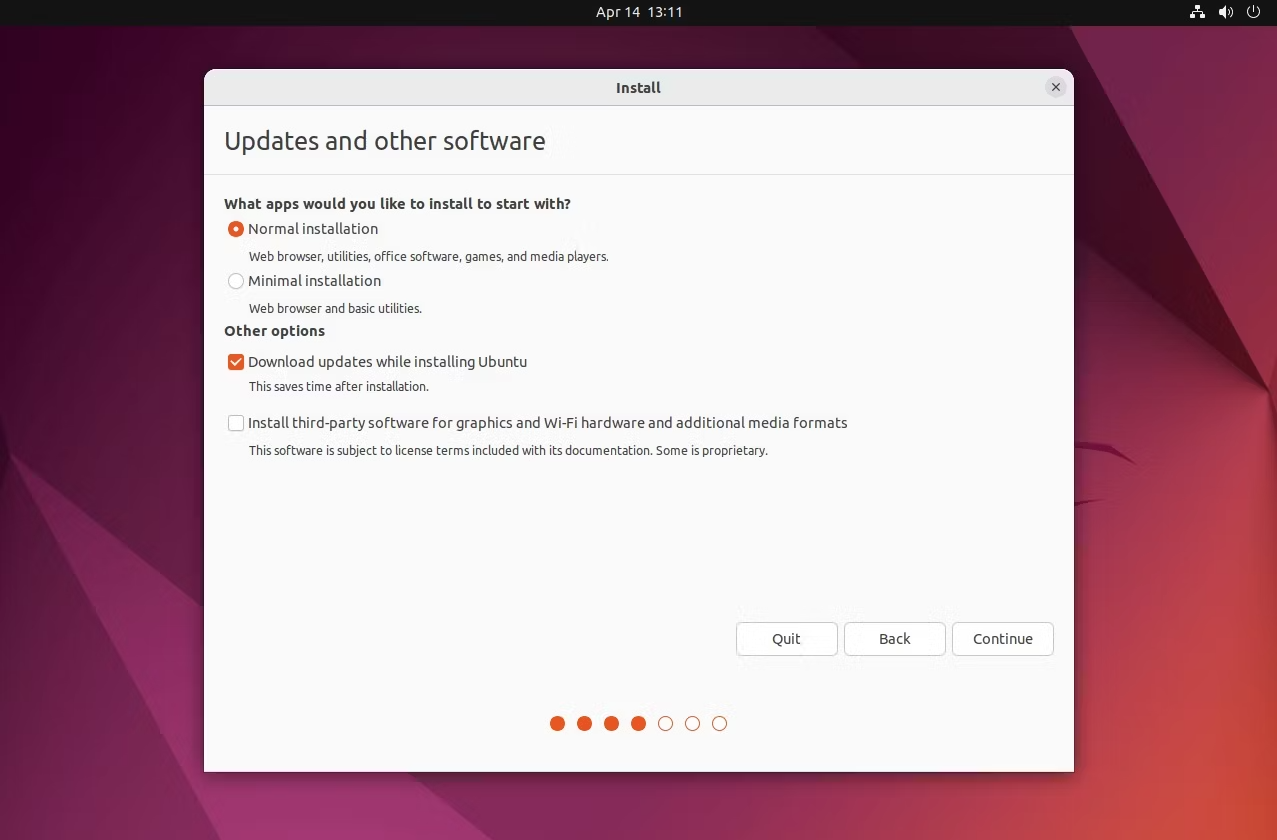
2. Updates and Other Software
Choose the updates and applications you wish to install together with the operating system. Either the Normal installation, which includes media tools and office software, or the Minimal installation, which excludes both, are available.
Additionally, you have the option of downloading updates as you install Ubuntu, which cuts down on installation time. Installing third-party software for graphics, Wi-Fi hardware, and extra media formats is an option for power users. This contains items like NVIDIA GPU drivers.
|
| Updates and Other Software Screen |
Click Continue when you have made your choice.
3. Installation Type
Choose between Erase disk and install Ubuntu or Something else. The first option has an Advanced features option, enabling the selection of non-standard file tables. The second option gives you the tools to create and resize partitions.

|
| Installation Type Screen |
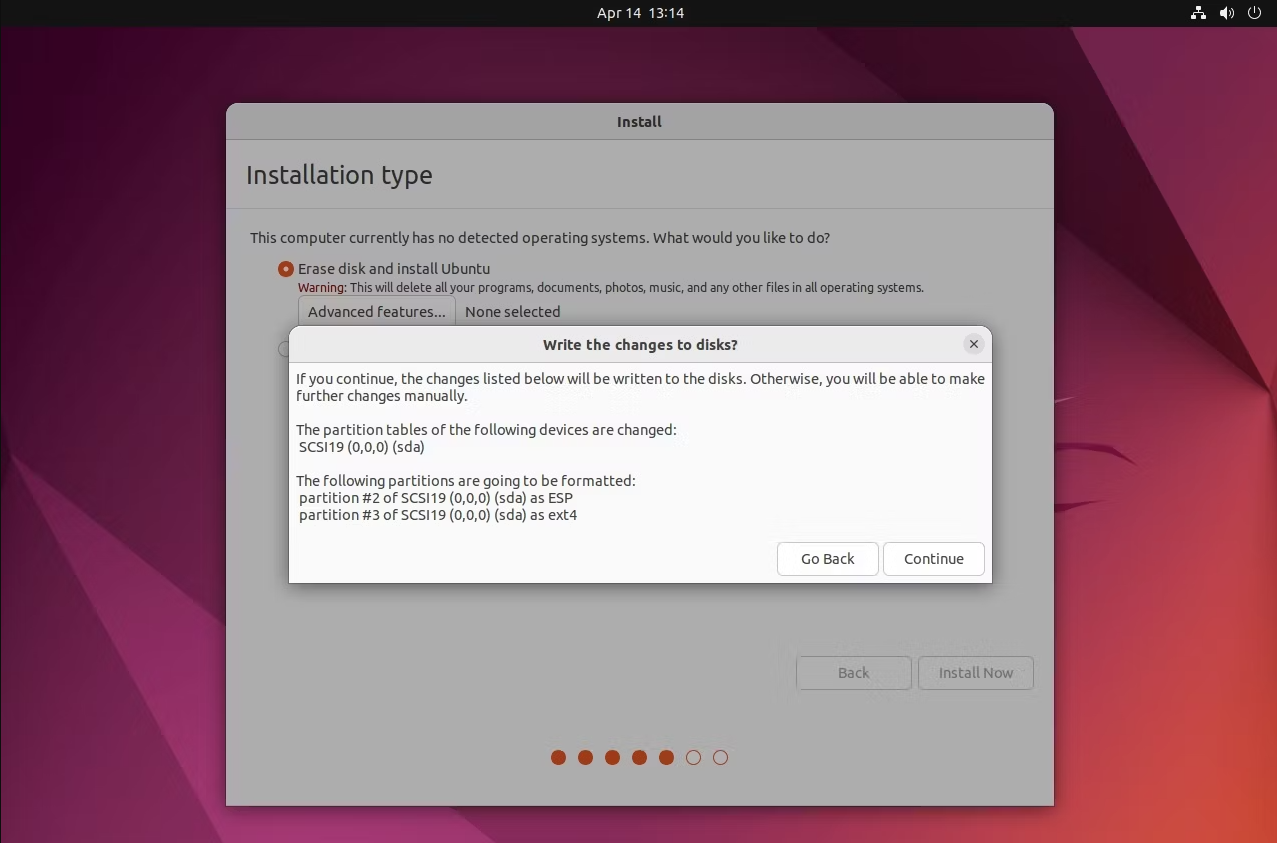
4. Write the Changes to Disks?
The installer will confirm the selections you have made to the disks (Ubuntu formats two partitions by default).
|
| Write the Changes Screen |
5. Select Time Zone
Use the map to select the correct time zone, or input the nearest city to your location into the text field.
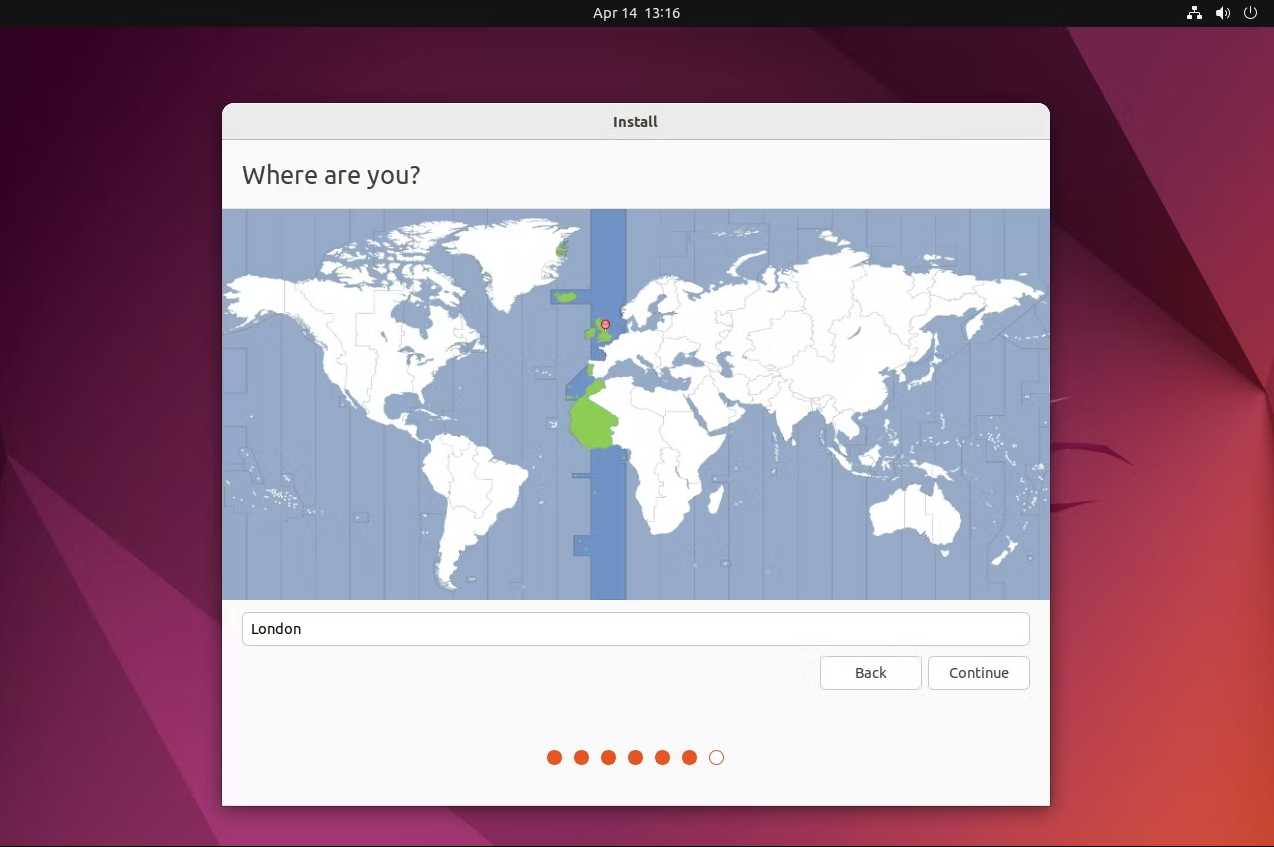
|
| Select Time Zone |
6. Who Are You, Anyway?

|
| User Setting Screen |
You can now choose a username and password, enter your name and the name you want to give the computer. You might need to select the Use Active Directory checkbox if you're connected to a corporate or academic network.
In Ubuntu, set a username and password.
Enjoy the Ubuntu 22.04 LTS Jammy Jellyfish welcome screen by clicking Continue.
7. Restart
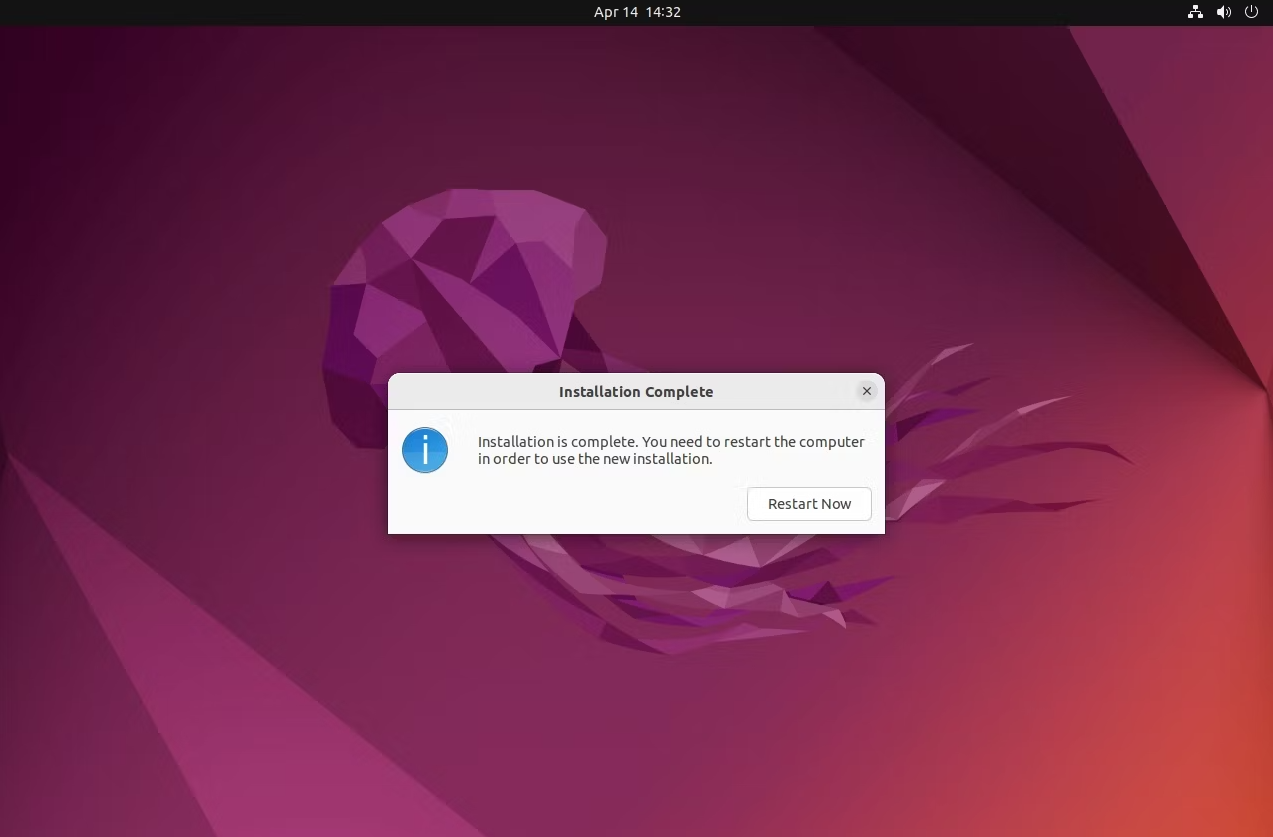
|
| Restart Screen |
The procedure will be finished in a few minutes (or a cup of coffee), at which point you will be asked to restart your new Ubuntu PC.
restarting Ubuntu after setup
You'll be prompted to take out the installation DVD when the machine resumes. Before pressing Enter, be sure the disk has been ejected.
Ubuntu is simple to install.
As previously said, Ubuntu can be installed on virtually any computer. The desktop Ubuntu operating system is at its best on a PC or laptop, where installation is the easiest and least complicated.
Although your experience may be different, especially if you have odd hardware, Ubuntu installation is typically straightforward. However, in general, installing Ubuntu goes well, and your machine can be up and running in less than 30 minutes.
The appropriate software installation is now required.
Join the conversation